Scope
Intended Audience: All End Users
This article outlines how to configure a SIP Trunk between your hosted PBX and a 3CX PBX.
This article was written using 3CX Version 18.0 Update 3 (Build 461)
Requirements
- SIP Trunk Information
- Existing 3CX instance
Configure SIP Trunk
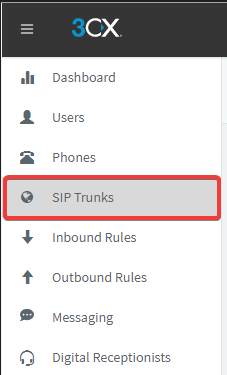
- Log in to the 3CX PBX instance
- Click SIP Trunks

- Click Add SIP Trunk

- Set the Country to Generic
- Set the Provider to Generic SIP Trunk
- Enter the 10-digit telephone number of your trunk, with no spaces or special characters in the Main Trunk No
- Click OK

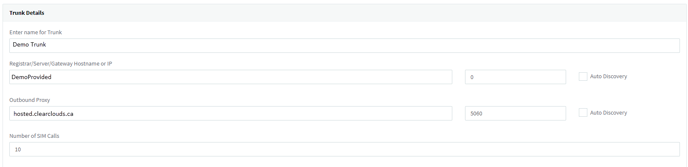
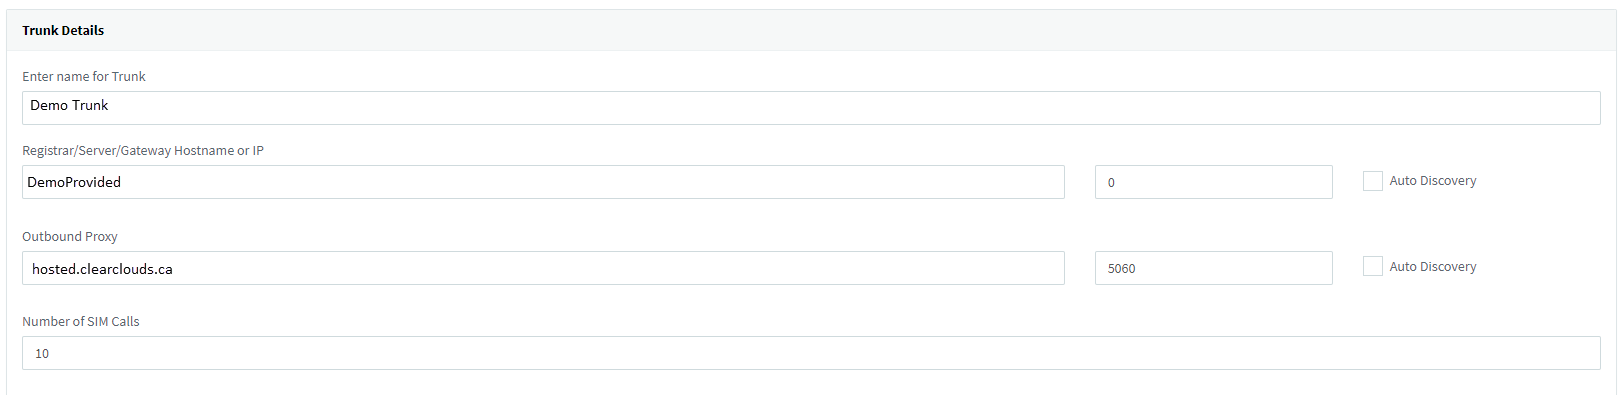
- In the General tab, complete the following fields, leaving all others default
- Name: Enter a descriptive name for the trunk
- Registrar/Server/Gateway Hostname or IP: Enter the name of the SIP Trunk
- Auto Discovery: Unchecked
- Outbound Proxy: Enter the outbound proxy based on your primary core. If unsure, contact support.
- hosted.clearclouds.ca
- Number of SIM Calls: Set the number of simultaneous calls for the PBX you wish to allow
-
- Type of Authentication: This will vary based on the kind of trunk you wish to configure. If an IP-based SIP trunk was set up initially, leave as Do not require - IP based. If an authentication-based trunk was configured, select Register/Account based
- Authentication ID (aka SIP User ID): Enter the SIP User ID from the SIP trunk
NOTE: This is not needed if an IP-based trunk was configured - Authentication Password: Enter the SIP User Password from the SIP trunk
NOTE: This is not needed if an IP-based trunk was configured
- Destination for calls during office hours: Choose where to route inbound calls during hours
- Destination for calls outside office hours: Choose where to route calls outside office hours

- Do not modify the outbound parameters
- Click OK
- Once the trunk is registered, 3CX should show a green circle to the left of the trunk.

- For authentication-based trunks, the portal will then show the IP address of the registered trunk

Add Outbound Rules
In order to configure outbound calling through the SIP trunk, outbound rules will need to be added.
- Navigate to Outbound Rules
- Click Add

- Set a Rule Name
- Set Calls to Numbers with a length of to 10-11
- Set Route 1 to the newly created trunk
- Click OK

- To configure international calling, click Add

- Set a Rule Name
- Set Calls to Numbers starting with prefix to 011
- Set Route 1 to the newly created trunk
- Click OK


Click OK
